In this guide, i’ll show you how to integrate M-Pesa payments into your WordPress and BuddyPress community site. Whether you are launching a premium membership platform or a local community network, this tutorial is designed to get your payment system live so you can begin generating revenue immediately.
Prerequisites
Before we get started there certain key things you need to have already:
- BPMpesaGateway zip file, you’ll need the plugin zip file which is available for download at Gumroad.
- Active WordPress installation on your preferred hosting provider like Truehost.
- Registered business Paybill number from Safaricom
- BuddyPress plugin installed and configured
- M-pesa Daraja credentials i.e. consumer key, consumer secret, passkey, and a shortcode — follow this step-by-step guide on how to get these credentials
Once you have all these requirements met you can proceed with this tutorial.
Step 1: Accessing the plugin manager
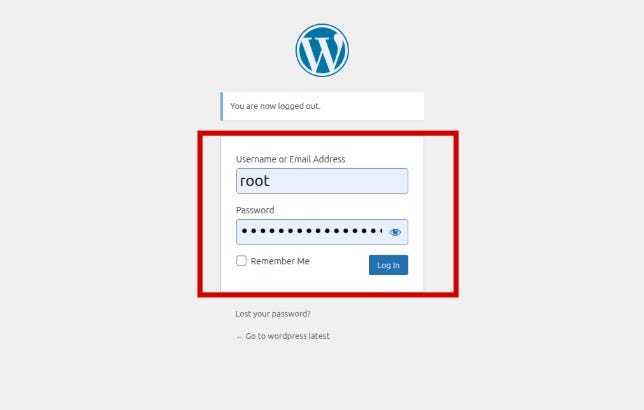
To begin installing the plugin, log in to your WordPress admin dashboard.
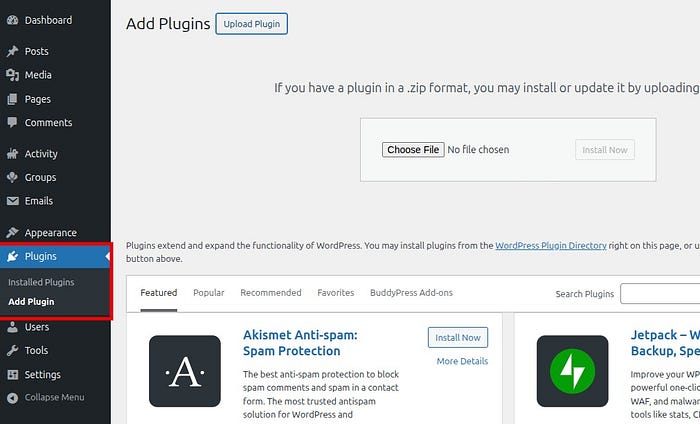
Once you have logged into your WordPress Admin Dashboard, on the left sidebar menu, navigate to the plugins and select Add new.
Pro Tip: If you are using a mobile device or a smaller screen, you may need to click the “hamburger” icon (three horizontal lines) in the top left corner to reveal the sidebar menu.
Step 2: Upload and install the plugin
Once you are on the add plugin page, click the upload plugin button on the top left of the page and you will notice a new section popup prompting you to upload a zip file. Click the choose file button and navigate to the folder you downloaded the BPMpesaGateway.zip file.
Note: Do not unzip the file before uploading, WordPress is designed to extract the files automatically during the installation process.
Once the installation is complete, you will see a success message and a button to activate the plugin to enable its features on your site.

Step 3: Configuring the BPMpesaGateway Settings
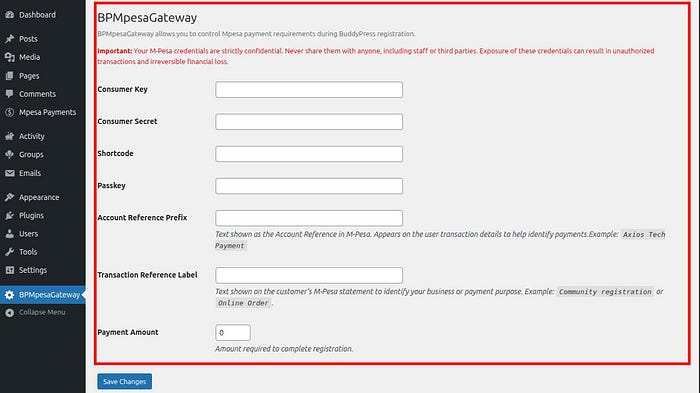
Once the plugin is activated, you will notice a new menu item in your WordPress sidebar labeled BPMpesaGateway, This is the control center where you link your site to the Safaricom Daraja API.
Click the menu and you’ll see several input fields, consumer key, consumer secret, passkey, shortcode, account reference and transaction reference. Paste your credentials into the necessary fields.
The account reference is used to identify specific transaction, i.e INV-001
The Transaction reference is a short description of the transaction, i.e Community membership registration, this field is optional and can be left empty.
In the Payment amount field, enter the amount you’d like your users to pay before joining the community.
Scroll down and click Save Settings to finalize the configuration.
Note: DO NOT any of your Mpesa Daraja credentials to anyone else, including staff and third parties
Step 4: Congratulations 🎊
With the configuration complete and saved successfully, you’re website is now ready to start accepting payments.
When a new member visits your registration page, they will now see a dedicated mpesa payment field. To join the community, users simply enter their M-Pesa phone number and click the register button. This triggers an STK Push (a pop-up on their phone) requesting their M-Pesa PIN to authorize the transaction.
All the transactions are stored in a page called Mpesa Payment in the sidebar menu.

This page provide a log of all transactions, including the transaction reference, phone number, amount paid, and payment status. You can also view a detailed status description and the exact date of each transaction.
Conclusion
You are now officially ready to monetize your BuddyPress community. By integrating M-Pesa, you’ve removed the friction of manual payments and created a seamless experience for your audience to join your premium platform.
Incase you encounter any technical hurdles or have questions regarding the BPMpesaGateway plugin, I am here to help.
Feel free to reach out to me directly via email at: Murimifestus09@gmail.com.
